Showing posts with label halloween. Show all posts

Tuesday, September 25, 2018

Autumn arrives, repairs to sweater & floral crown

Hello, how are you? The air is crisp, the weather has cooled and foliage is ready to begin! If you've been following me on Instagram you will see I've been quite busy. So I will share a few more things in this post that I had shared briefly in IG.


I love thrift store finds and this sweater was one of them. But it had a hole at the sleeve near a seam. So how do you go about fixing this up? I decided to crochet the hole to repair it. I used embroidery floss that matched the peachy color. 

A very small crochet hook and peachy floss


I turned the sleeve inside out, so I worked in the back section. This better allowed me to crochet into some of the loose yarn on the sweater. The goal was to close the hole and not leave any of those loops of yarn un-crocheted. This closed the hole while having some matching floss and since it was no bigger then a quarter in size, it's not that noticeable. You could use this method on most sweaters and you don't need to be fancy in the repairs.

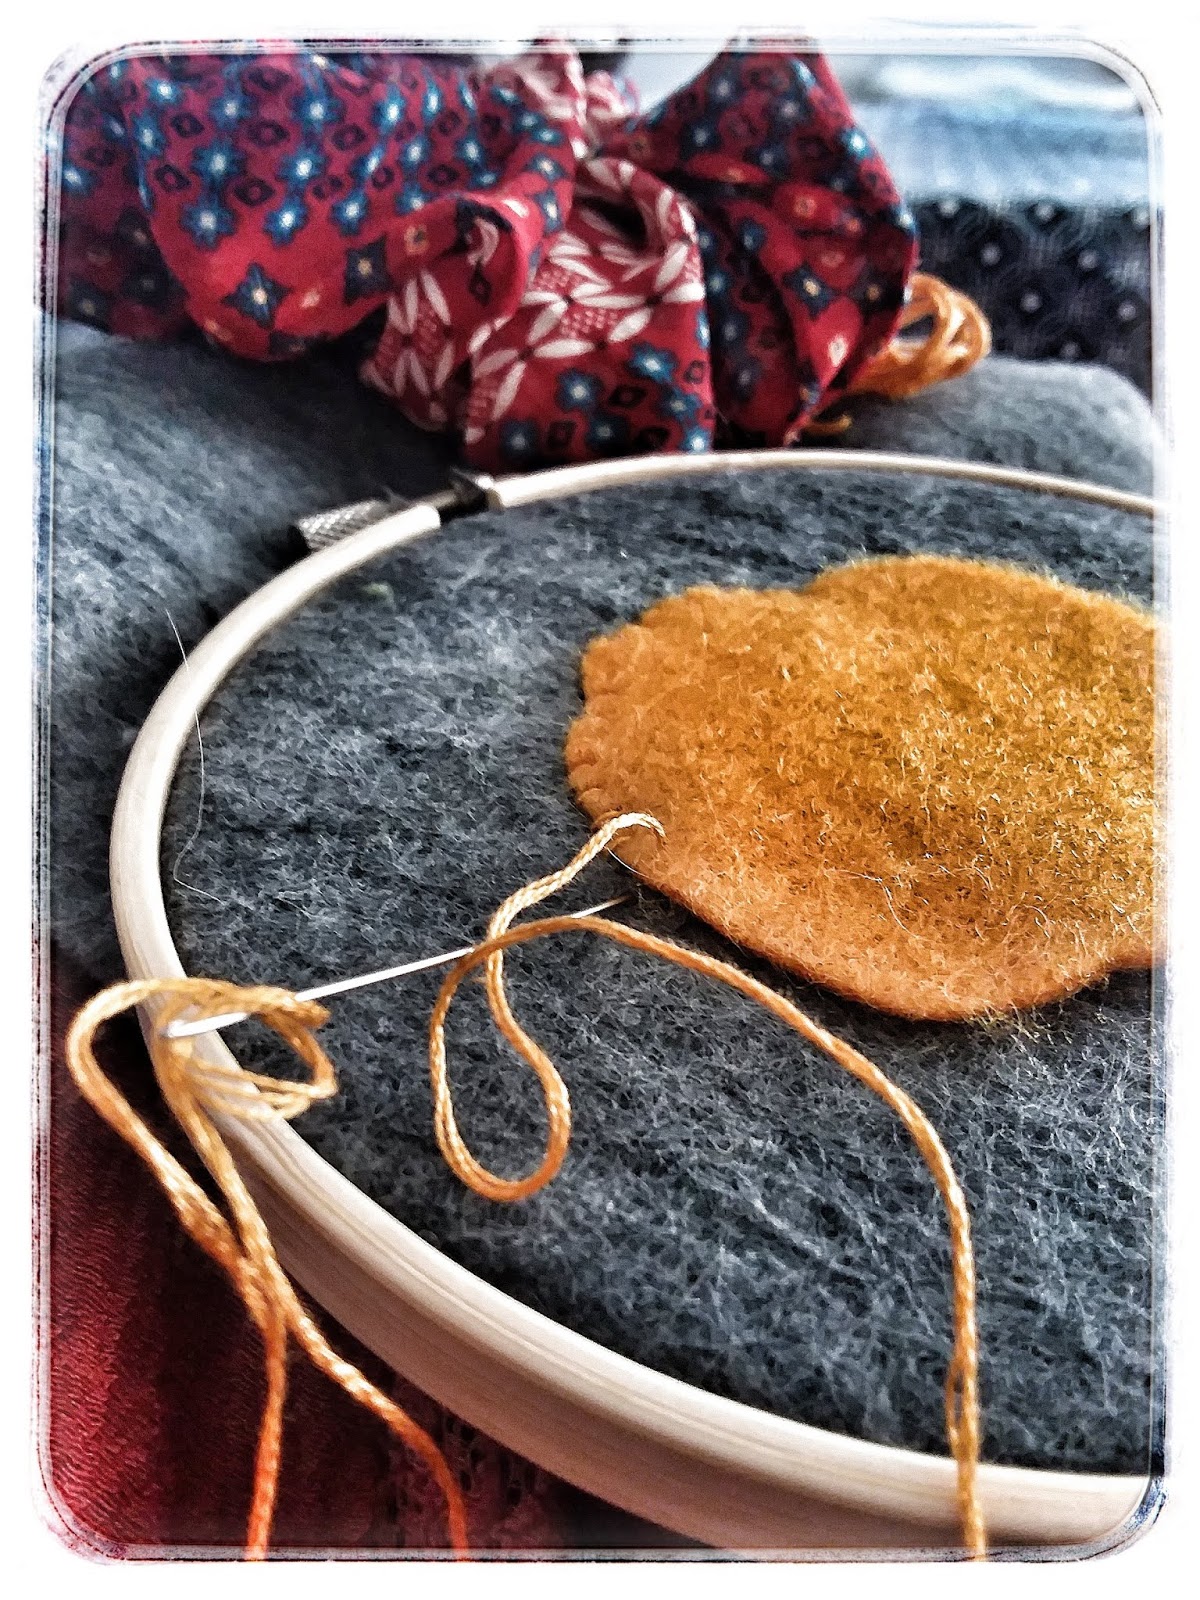
I've begun some Halloween projects I want to list on my Etsy shop! I decided on some drawstring bags with themes on them. So far I have two in the works, as seen below. I hand stitched the jack-o-lantern and black cat. I then stitched them to my chosen fabric. 

The black cat has such fine details to the fur! I gave it texture and whiskers along with a little nose and bright eyes. The drawstring bags I have made from scratch! No pre-purchased, pre-made bags here! I really value making and offering quality, handmade items for sale. 


details of the jack-o-lantern bag

If you have followed either of my Instagram pages: one for my Etsy and crafting, one for my photography, then you will recognize these floral crowns. I absolutely love making them for the seasons! I may even have one made in time for winter to sell in my Etsy shop (so follow my Instagram accounts to find out!). This is my autumn/later summer themed floral crown.


my handmade floral crown

summer solstice

I use faux flowers so you can keep the crowns and wear them for years to come. But in the past I've also made some from natural resources and they lasted about a week or less. They are a real passion for me and I want to share them with others. Be it for dress up, a special occasion or festivals, they have many uses. I plan them out from the faux flowers and foliage I pick. They often have a color scheme and I just work on them organically, letting the vision of what I'd like it to be flow. 

I hope you've enjoyed these photos and crafty updates! Be sure to visit my Instagram accounts and see what I'm up to, along with videos regularly. 


Monday, October 30, 2017

A handmade Halloween

A fun & frightful Halloween to you! I hope you are in the holiday spirit and ready for a evening of trick-or-treating, maybe you prefer a scary movie marathon or going to parties. This year I wanted to show some of the Halloween decoration I have made in the past. And a glimpse at the Halloween costumes my spouse and I are wearing this year.


I love lanterns and used paper bags for jack-o-lanterns. You simply cut the face or design onto one side, then spray the bag with glitter. I use battery powered candles inside, so no fire risk here! The cute skeleton was a bought plain wooden decoration. I painted it with acrylic paint and used a all-weather purpose sealant. I then added a bow and some tulle to it. But my large hanging ghost is made from scrap fabric I had. You make it like a pillow case, I used felt for the eyes and mouth - and just poke a hole at the top. 


To fill the ghost body, I take a old plastic bag and stuff it with whatever I have: other plastic bags, some stuffing or even crinkled up paper. I use a stick to make the 'arms' stay out. If you want to view a video of it, please visit my Instagram page. 

And now to marvel at this years Halloween costumes! Our costumes are part thrift store part handmade. The capes are handmade and I'm very proud of them. This year our design was Sith Lord and Apprentice from Star Wars. It was so much fun dressing up and I took our photos. I also did our makeup for them as well. 


The Force is strong in us! I hope you have a fun Halloween and get many sweet treats. 


Monday, October 24, 2016

Happy DIY Halloween

Are you ready for some ghosts and goblins? No, how about at least some DIY Halloween decorations & projects? Yes ~ then read on my friend!
Well it's cold, a chill is in the air and by the weekend it will be Halloween. I finished our dog's costume (cape) with faux fur and  ~ it's adorable! He loves coats since he has short hair. I give you, Chewbacca!


no Wookies were shaved in the making of this costume

It fits and is held on with wide ribbon and large metal snaps. Easy to get on and off and he is nice and toasty when out in the cold. The entire costume cost less then $10 total in supplies.

Now for the DIY for you! I found some lovely pages out there with many projects. This one is devoted to just decorations for your home. It is called Simplymost and has a large selection to review! From cute banners (be it fabric of paper) similar to this one.... (the DIY is here)

photo from Crafthubs.com

To melted wax pumpkins, haunted terrarium and floating witch hat luminaries! Certainly a little something for everyone and all ranges from beginner to mid-level/practiced crafter. Most DIY projects no longer require you to spend a lot to create something. Now you can often find the supplies you need right in your craft stash or closet. 

I wish you all a fun, safe & happy haunting weekend ahead! And don't forget to 
nab that discount candy later. 
H A P P Y  H A L L O W E E N!


Thursday, October 6, 2016

Dog costume, DIY handmade

Welcome October! One can only hope we get a break from the intense heat that stayed all summer long. The trees here are just starting to show signs of fall foliage. Pumpkins are showing up on doorsteps as decoration. And a few people have already begun to put out their Halloween decorations.

Well I have been working on a dog costume for our pup, Choji. He loves to wear 'coats' in chilly or wet weather. He has short fur himself so he prefers to be warm & dry. I decided that this year he would be Chewbacca from Star Wars. I started with some faux fur for the body.


Now this faux fur came like a square shape, so I rounded the top edges. The gray squares are the pieces you see on Chewbacca's utility belt. I made them with felt and rolled up some plastic bags to fill the square and shape it.


Now I have done this by hand, since it's easier. Faux fur can get stuck in a machine sewing needle, so you can use a machine (but go slow!). I added the gray squares on top of some brown ribbon I laid out. I just hand stitched them on and had my buttons to help gauge where to place the gray squares. You will want some space between each square. 


As you can see, it's not fitted on him yet. I plan to add some ribbon with snaps around his collar and under his belly. But the size is good and the finished utility belt came out how I had hoped it would! Today is very warm so he didn't wear it long, just for a quick photo. Past costumes I've made include K9 from Doctor Who and a cute thrift store cape with bat wings. 

My Etsy shop is on vacation for the time being. I am moving my craft supplies to a new room in the next month or so. I will have my shop open in November again, just in time for winter holiday shopping. So never fear, you will be able to shop for handmade goods in a few weeks!


Tuesday, October 13, 2015

What I'm working on

Sorry I haven't shared anything for a while! I get busy, start new things and have twice weekly stuff to attend. Somehow in all this I manage to start some new work for my crafty shop.

Felt charms, in the works!

I made a charm for my purse, ever since I get compliments and questions. So I decided to make a few charms that I will sell in my etsy shop. They are inspired by some favorite animated films ~ I hope you recognize them! 

Can you guess who it is?

We are also getting ready for some Halloween fun-time! Each year there is plenty to do where we live, like corn mazes or haunted houses. There is a pretty cool jack o lantern event that - people, get this - is an hour long line to get in! But it's worth it, it's so much fun to go view. But until I have some neat photos of those, here is my cat in his dinosaur costume.

Roar, I'm a vicious snuggling kitty! 


Thursday, October 23, 2014

Halloween paper lanterns DIY

It's almost here ~ one more week to Halloween! I love Halloween as a child, it was so much fun and perfect autumn weather. My mother would always have a project to make, be it a scarecrow or ghosts to hang from branches. Not only was decorating fun but deciding on a costume was too. We'd plan and often make our own - my mother would do our costume makeup.
I wanted to make a easy DIY project for either Halloween or autumn. It require minimal supplies and can be done in less then 30 minutes. I decided paper bag lanterns would be a fun, easy project!
What you will need for this project:
- an assortment of paper bags
- pen or marker
- scissors
- spray paint or spray glitter, color of your choice
- battery operated candles (I would advise against using actual candles inside paper bags)

To start: Pick any bag you please, I have this medium sized one collecting dust. Use your pen or marker and design any face you like. Remember, you are going to cut out the shapes, so you might want them thick. I just used scissors to cut my face out, poke the scissor gently into a shape - then cut around your outline.

design your bag using pen or marker

I made two bags, one medium one large. You could even use the small lunch sized bags too! Once you have the bags cut, bring them outside. Now, for this step I used spray glitter in orange. It is very messy, so I used dish washing gloves and laid plastic down. Spray the exterior of the bag in enough spray paint or glitter to cover any design printed on the bag. 

bring it outdoors to spray it with paint or glitter

It shouldn't take long for the project to air dry outdoors. Once it was dry, I cut points or triangle shapes, at the top of my bags. If you aren't going for a jack o' lantern design, you could also do autumn themes. Ideas I have in mind are: initials, house number, leafs, trees, gourds, almost anything you fancy. If you search online you will certainly find an array of design t pick from.

finished paper lantern

Use battery operated candles for safety, place a few inside the lantern. Here are a few pictures of my lit paper lanterns. I can't wait to put them outside for Halloween night! 


finished lantern bags

I also had a chance to go to a costume party this month. I think I had too many sweet treats, I swear I felt myself fall into a sugar coma that night. It was so much fun and I designed my costume after watching a tutorial online. I decided on a Fawn with a head piece crown I made from craft supplies (I added antlers and felt ears). Here is the link to the fun makeup I used by FreshBlush on you tube. Here are pictures of what I wore with it, which I had in my closet already.

my fawn head piece, with moss and felt ears I added

my fawn costume
Have a safe & happy Halloween!


Thursday, September 11, 2014

Crafty projects galore! Yukata Obi, Custom Kicks

Summer has started to come to an end ~ but that doesn't mean your crafting should! I will be sharing shortly a few projects that I have done and some How-To's. Here is a preview of what I have in store for you:

I made (yes, from scratch!) my 2nd ever pre tied obi! This one I made to match the yukata (summer kimono) you see in this photo with rabbit print. I plan on sharing more photos of how I went about making this. And if you fancy having one made, I do take custom request orders placed through my etsy shop.

Turn some plain sneakers into custom kicks! I will show you a DIY project of how to add some fabric to your sneakers for a fun, custom style and look. 

For all my geeky, nerdy friends out there ~ I give you... my adorable dog in his Halloween costume! I actually plan to make another costume for sale in my etsy shop - so do keep an eye out for that. He is about 20 pounds, and I have just enough fabric for a 2nd cape K9 costume for a dog of this size.