Showing posts with label thrift store. Show all posts

Tuesday, September 25, 2018

Autumn arrives, repairs to sweater & floral crown

Hello, how are you? The air is crisp, the weather has cooled and foliage is ready to begin! If you've been following me on Instagram you will see I've been quite busy. So I will share a few more things in this post that I had shared briefly in IG.


I love thrift store finds and this sweater was one of them. But it had a hole at the sleeve near a seam. So how do you go about fixing this up? I decided to crochet the hole to repair it. I used embroidery floss that matched the peachy color. 

A very small crochet hook and peachy floss


I turned the sleeve inside out, so I worked in the back section. This better allowed me to crochet into some of the loose yarn on the sweater. The goal was to close the hole and not leave any of those loops of yarn un-crocheted. This closed the hole while having some matching floss and since it was no bigger then a quarter in size, it's not that noticeable. You could use this method on most sweaters and you don't need to be fancy in the repairs.

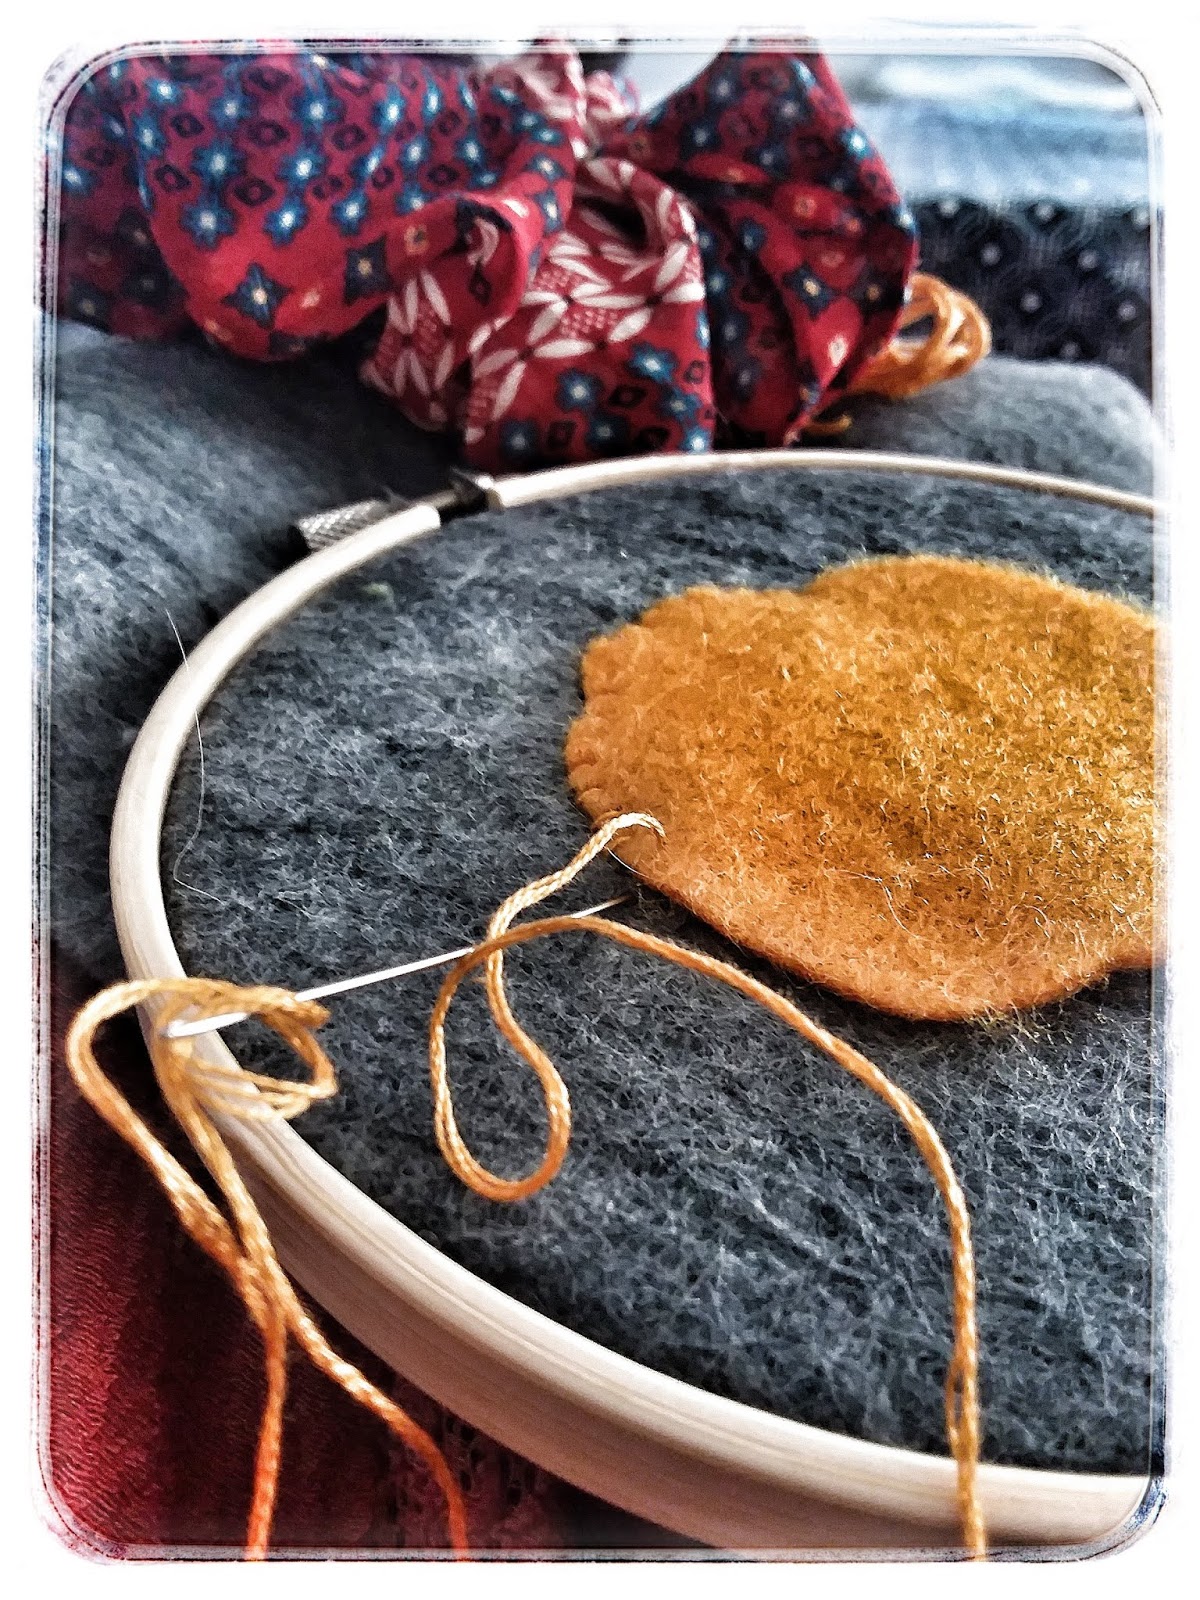
I've begun some Halloween projects I want to list on my Etsy shop! I decided on some drawstring bags with themes on them. So far I have two in the works, as seen below. I hand stitched the jack-o-lantern and black cat. I then stitched them to my chosen fabric. 

The black cat has such fine details to the fur! I gave it texture and whiskers along with a little nose and bright eyes. The drawstring bags I have made from scratch! No pre-purchased, pre-made bags here! I really value making and offering quality, handmade items for sale. 


details of the jack-o-lantern bag

If you have followed either of my Instagram pages: one for my Etsy and crafting, one for my photography, then you will recognize these floral crowns. I absolutely love making them for the seasons! I may even have one made in time for winter to sell in my Etsy shop (so follow my Instagram accounts to find out!). This is my autumn/later summer themed floral crown.


my handmade floral crown

summer solstice

I use faux flowers so you can keep the crowns and wear them for years to come. But in the past I've also made some from natural resources and they lasted about a week or less. They are a real passion for me and I want to share them with others. Be it for dress up, a special occasion or festivals, they have many uses. I plan them out from the faux flowers and foliage I pick. They often have a color scheme and I just work on them organically, letting the vision of what I'd like it to be flow. 

I hope you've enjoyed these photos and crafty updates! Be sure to visit my Instagram accounts and see what I'm up to, along with videos regularly. 


Wednesday, July 4, 2018

Welcome Summer, Vest repairs, baby gift

Let's all give a warm (ha, get it?) welcome to the summer season! It's hot, it's humid and you want to stay indoors and in the cool breeze of a fan. So what have I been working on? Plenty of things, that's for sure! Of course stop by my Instagram to view weekly things I do or share about.

Each season I enjoy decorating and celebrating the season. On June 21st we had Summer Solstice, which did these photos for and a staff.

summer decor

summer solstice

I've been sewing, crafting and doing repairs to thrifted clothing I already own. The vest above needed some TLC recently. The piping on this (the edging) was frayed and just falling apart with time. So how do you repair that? Well I wasn't going to tear apart the piping edge on this! Instead, I find a simple (beginner. easy) solution that can be done in an afternoon. 


a paint brush and puff paint


before & after

I purchased puff paint to make repairs with. I used a dark brown shade which matched perfectly! With the use of a paint brush, I could simply dip it in puff paint, then paint the piping. This left a nice smooth coverage and no more frays or cracks! Just put down a little paper and use a wide brush, easy as that.

plush toy pattern design

I am also working on a toy plush for a friends soon-to-be baby boy (due in autumn). I based this off Nightwing from the Teen Titans series. Since it's for an infant I kept a simple round pillow shape to it. I am going to use flannel fabric, felt and sew it mostly by machine. I try to never put any pieces that an infant can tear off - safety first! So no buttons, ribbons or the like. I only recently cut the pattern pieces out and traced them onto fabric.

If you are in the mood to shop for handmade gifts, do visit my Etsy shop (linked in the side bar). I have over 35 items for sale currently. I have felt creations, plushes, hair accessories, upcycled clothing and much more! Support small business, support artisans and gift handmade when you can. 


Wednesday, July 8, 2015

Muggy days DIY hemmed shorts

It's muggy people, we are in the full swing of summer now! We have had a lot of rain over here, a few times roads flooded. But it's been wonderful for my garden ~ I do love my fresh vegetables!

Everybody, grab a raft and swim in the roads!

I've started to offer my seamstress services to my local friends. Wow, has it taken off! Word gets around fast nowadays and I've had several friends in my first 3 weeks of seamstress work. I have also had friends-of-friends who wanted me to hem, mend or alter things. I am working on getting a Google phone number to allow people to contact me by phone. That way I can keep my own cell number private but still have a way for customers to contact me directly. 


hemming pants


Along with my new seamstress work I hope to participate in a craft fair or two this holiday season. I haven't done one in years and am so out of the loop. But I want to make some holiday themed gifts to sell. And plushie style toys, I adore making cute things for all ages to enjoy! I still need to decide just what to make for it, since I have piles of patterns to pick from. 

DIY add length to shorts project!
Here are some shorts from the thrift store I added length to. It's a very easy thing to do with a sewing machine or simply by hand stitching. 
- First pick a type of fabric for the added length. I picked a cotton fabric with some blue to match my shorts. Measure around the shorts leg opening, be sure to add about 2"s to the measurement for some wiggle room.
- I took my cotton fabric, decided I wanted it about 2 1/2"s in width (length was my measurement I took around leg opening, refer to above). Cut the cotton fabric, set aside. 
- Turn your shorts inside out and decided where you want to sew the fabric on - I decided about 1" on the shorts opening. I used pins to mark this but you can use fabric chalk or fabric markers. 

My plastic clear ruler I use for measuring.

- I took my cotton fabric I had previously cut and turned under about 1/2" and stitched it with my machine, this will be the new leg opening and will not fray. 
- Remember how you marked the 1" on the shorts? Take the un-stitched edge of your cotton fabric, pin to the 1" line on the shorts leg opening. Sew across, sew edges (it will be a loop now) then repeat to other leg opening.


My shorts where a thrift store purchase, the new hem came to about 2"s after sewing. 

Ready for summer!

I hope you have fun altering your own thrift store and summer attire! Please visit my shop for hand made, hand crafted artisan gifts. Support the small businesses online and keep the arts alive!